
With Dispatch Self‑Serve you can:
- Book ASAP or scheduled/future deliveries
- View today’s, future and past bookings
⚠️ Book / Cancel /rebook large vehicle
If you need a large vehicle or car (for example, for big or delicate orders):
- Please make new bookings or changes (rebookings/amendments) before 4pm the day before delivery.
- Many of our main large‑vehicle/car courier partners have a 4pm day‑before cut‑off for these jobs.
- After this time, we may still be able to send the job, however:
- It may have to go to a different fleet and costs are likely to be higher, and
- If no suitable car/van courier is available at short notice, the system may fall back to cargo bikes.
For anything that clearly needs a car/van, encourage your team to finalise bookings or changes as early as possible, ideally before 4pm the previous day.
Step 1 – Log in and open Dispatch
- Log in to your Controls dashboard.
- Click Dispatch in the left‑hand menu.
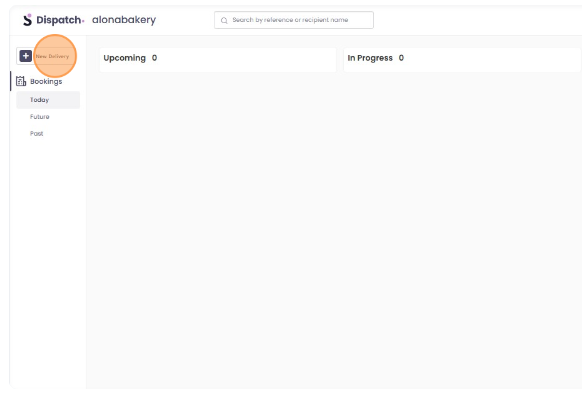
- You’ll see the Dispatch dashboard with Bookings and the sections for Today, Future and Past.

Step 2 – Create a new delivery
- Click New Delivery (usually at the top left of the Dispatch screen).
- The system will create an automatic order reference (a short code).
- You can keep this or rename it to something clearer for your team (e.g. “Catering – Smith Office 12:30”).
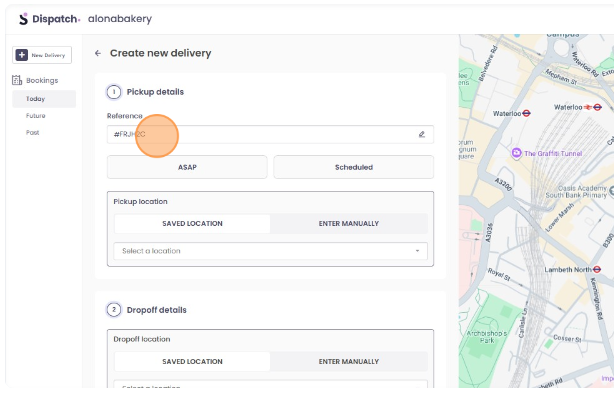
Step 3 – Choose when the courier is needed
- Select whether this is an ASAP booking or a Scheduled/Future booking.
- For scheduled bookings, choose the date and time carefully:
- For larger jobs needing a car/van, try to plan these in advance and remember the 4pm day‑before cut‑off mentioned above.

Step 4 – Set the pickup location
- Pick from your existing store / location list, or
- Enter a pickup address manually if needed.
Saved locations help you book faster next time.


Step 5 – Add the drop‑off details
- Enter the customer name, address, postcode and contact details.
- Add any delivery notes (e.g. “Use side entrance”, “Call on arrival”).
- If this is an address you’ll use again, save it so you can quickly select it for future bookings.

Step 6 – Confirm and book
- Review all details: date, time, pickup, drop‑off, and any special instructions.
- Confirm the booking.
- The delivery will then appear under Today or Future in your Dispatch bookings list, depending on the date/time.


⚠️ Once a booking has been made, it cannot be modified. If you need to make any changes, please cancel your current booking and create a new one.
Finding and Cancelling a booking created:
To cancel an ongoing/assigned booking, please reach out to Support Team.
Step 1
The easiest way to find a booking is to search using the order reference or recipient name. You may also, navigate on Today, Future, Past tab, depending on the date of the booking and use the filter by selecting a date range on the calendar.
Step 2
Select/Tap the booking to expand the details.
Step 3
Select/Tap the Cancel Delivery button.