
Slerp CRM gives you a drag-and-drop email builder so you can create campaigns without coding.
You can build branded emails, test subject lines, track performance, and make sure your campaigns work well across desktop and mobile.
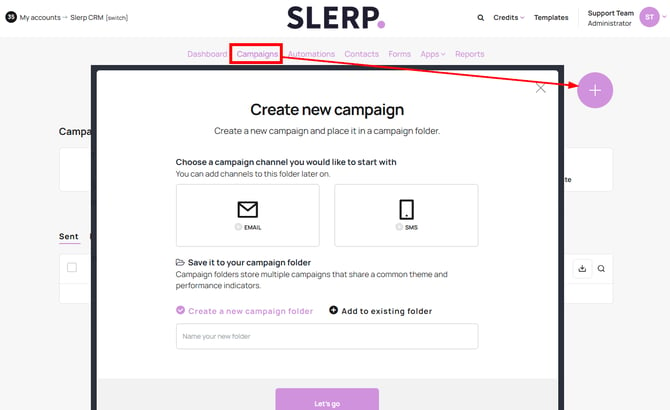
Build your email with drag-and-drop blocks
The email builder lets you add and arrange content visually.
Typical content blocks include:
- Text
- Images
- Buttons
- Spacing and layout rows
- GIFs
Videos are not embedded directly inside the email. If you want to highlight a video, use an image thumbnail with a play button and link it to the video instead.
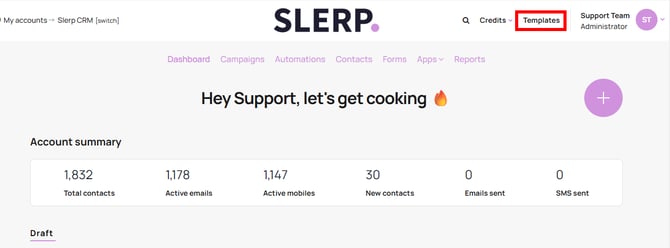
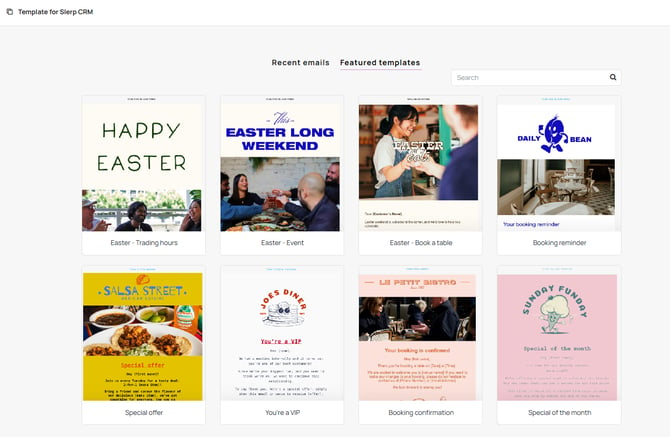
Start with an available template
Use the Templates area to browse the email templates available in Slerp CRM. Choose a base template, then customise the branding, images, text, buttons, and links for your campaign. You can also build your own layout from scratch.
Before sending, replace any sample content and preview the finished email on desktop and mobile.
If you already have a custom template from an external provider, you may also be able to upload it using HTML. If a custom-coded template does not display correctly, Slerp may not be able to troubleshoot the code itself.
Videos are not embedded directly inside the email. If you want to highlight a video, use an image thumbnail with a play button and link it to the video instead.
Custom fonts are not supported for imported templates. Using standard web-safe fonts helps improve compatibility across devices and email clients.
Share a PDF or flyer using a link
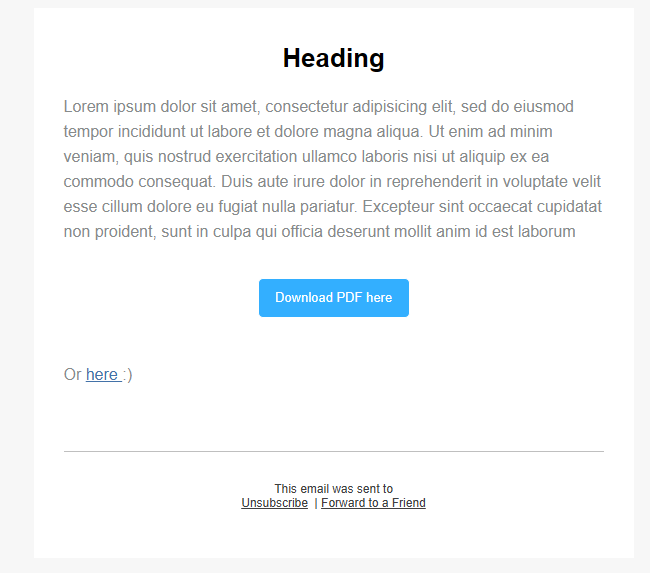
You cannot attach files directly to marketing emails. Instead, add a button or clickable flyer image that opens the PDF.
- Make sure the PDF is available through a link your recipients can open.
- Add a button or an image of the flyer to your email.
- Link the button or image to the PDF.
- Send a test email and check that the link opens correctly.
For example, you could promote a 20% catering offer to an opted-in prospect segment and include a button labelled View catering offer that opens the flyer. This is a campaign example, not a standard Slerp offer.
Make emails work on mobile
Most recipients will open your campaigns on mobile.
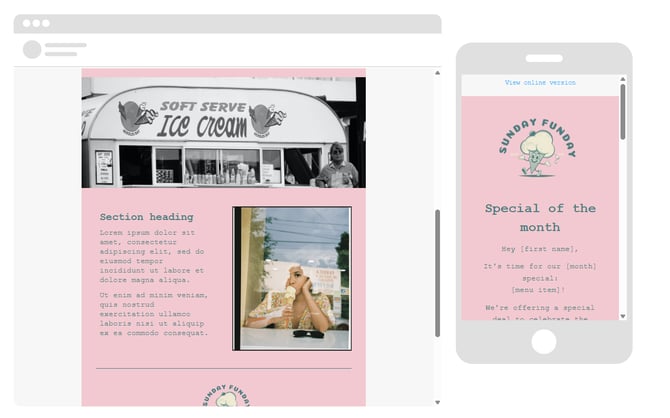
Rows and images usually stack automatically for smaller screens, which helps keep your campaign readable. Depending on the layout, you may also be able to adjust mobile stacking settings row by row.
Before sending, always preview the campaign on both desktop and mobile.
Personalise content with dynamic sections
You can tailor parts of an email based on contact data.
For example, you may want to:
- Show one banner to vegan customers
- Show a different offer to lapsed customers
- Display different messages based on tags or audience groups
This helps you send more relevant campaigns without creating multiple separate emails.
Test subject lines before sending
A/B testing helps you compare subject lines and improve open rates.
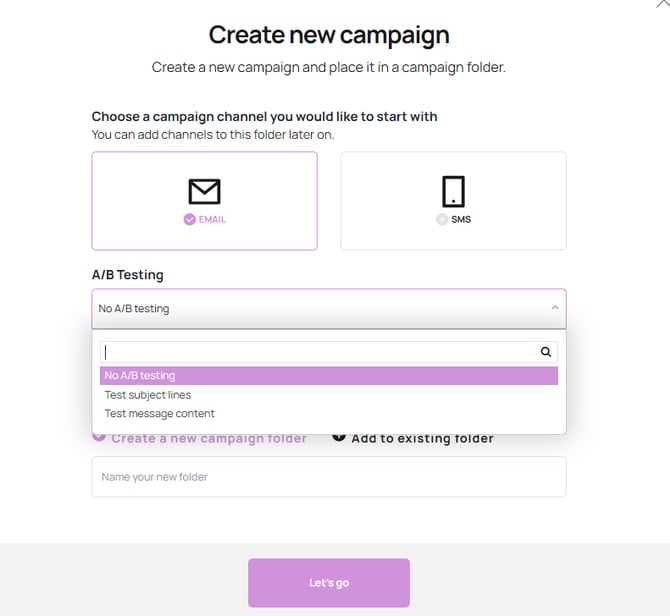
You can test up to five different subject lines before sending. In most cases, the best tests keep the wording fairly similar so you can compare what actually changes performance.
For example, you might test:
- 2 for 1 cocktails
- 50% off cocktails
- First-name personalisation versus a non-personalised version
You can also use contact fields such as first name in the subject line. If some contacts do not have a first name saved, you can add a default value such as Guest.
Depending on your setup, you may be able to:
- Send the subject lines equally across your audience
- Send test variants to a smaller percentage first
- Let the system choose the best-performing subject line for the remaining audience
A common setup is to test for a fixed period, such as 3 hours. For example, if you send at 12pm and test five subject lines across an initial sample, the system can review open rates after the test window and then automatically send the winning subject line to the rest of the database.
This is a simple way to learn what gets more attention before the full campaign is delivered.
Add tracking for campaign reporting
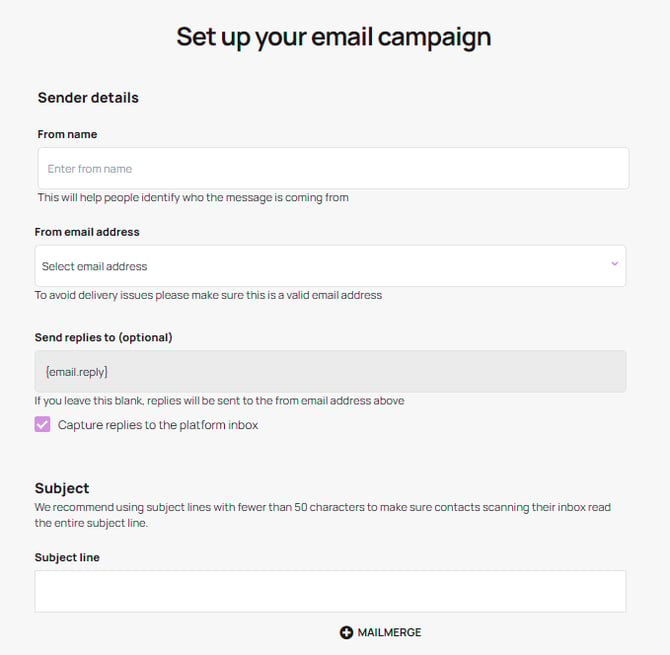
You can also add tracking parameters to links so campaign traffic is easier to measure in tools such as Google Analytics.
This does not require a separate integration. If your email links point to a website already connected to Google Analytics, the links can be converted into UTM-tracked links automatically.
This makes it easier to understand:
- Which campaigns drive visits
- Which links get clicked most often
- Which activity leads to conversions on your site
- Which parts of the email attract the most clicks through the link heat map
Set your sender details
Before you send, review the sender settings carefully.
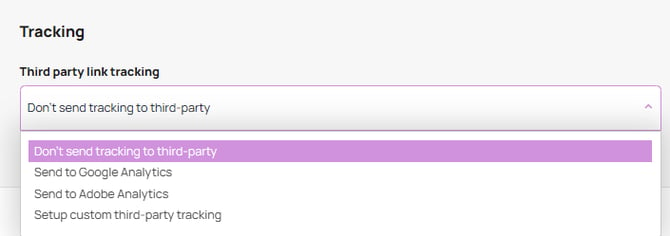
- From name: this is usually the venue name your customer will recognise
- From email address: this should ideally use your verified domain
- Reply-to address: if left blank, this usually defaults to the from email address
You may also be able to capture replies into the CRM inbox so your team can review and reply inside the platform, rather than filling up a personal inbox.
Keep campaigns organised
If you send campaigns regularly, folders can help keep everything tidy.
For example, you might organise emails by:
- Venue or brand
- Month
- Campaign type
This can be especially useful for operators managing multiple venues.
Test before you send
Before launching a campaign, check:
- Subject line
- Preview text
- Sender details
- Links and buttons
- Images and GIFs
- Mobile layout
- Tracking links
- Audience selection
A quick test send can help you catch formatting or link issues before the campaign goes to your full list.
Final tip
Keep the build clean and the message focused.
A simpler email is usually easier to scan, easier to click, and easier to improve over time.