
Emails sent to the customer
Your customer will receive several possible emails during the life of an order:
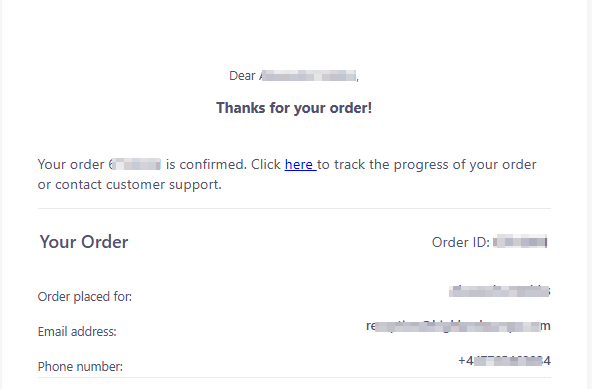
a) Order submitted
- When it’s sent: Immediately after the customer places an order on your site or app.
- What it says:
- Confirms the order has been received
- Shows the order details (items, total, chosen time, location, etc.)
- What it means for you:
- On your Slerp dashboard, this order will show as Pending until you accept or reject it.
b) Order accepted or rejected
After you review the order:
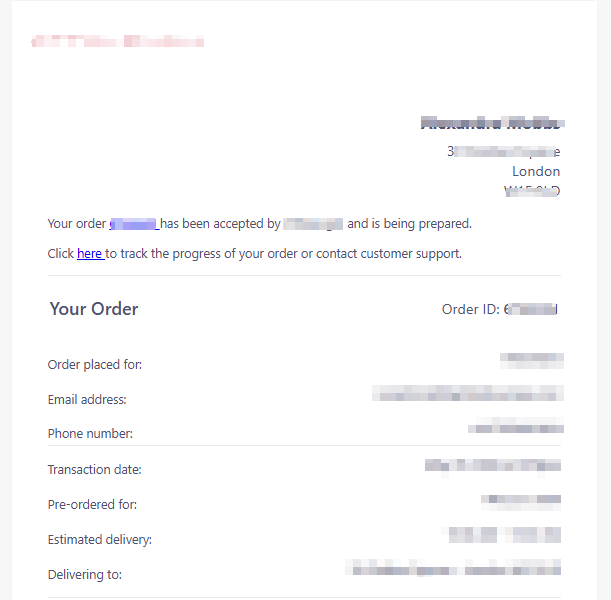
- If you accept the order:
- The customer receives an email confirming the order has been accepted and is being prepared.
- If you reject the order:
- The customer receives an email saying the order has been rejected and that they will receive a refund.
These emails are triggered as soon as you change the order status on your dashboard.
c) Order refunded
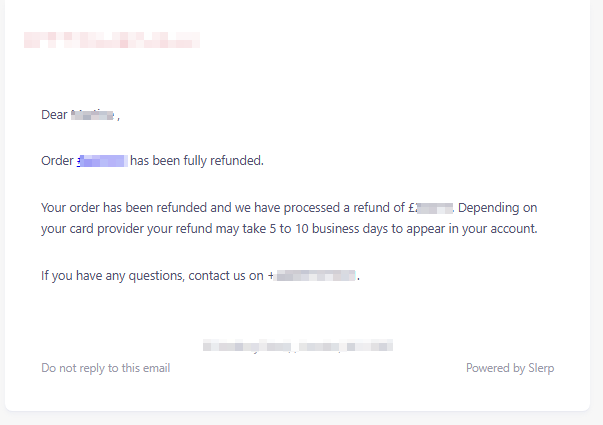
- When it’s sent: When you process a refund for all or part of the order.
- What it says:
- Confirms the refunded amount
- May show which items or charges were refunded (depending on how you process it).
Emails sent to your company
When a new order comes in:
- An order notification email is sent to the email address set in your Company Settings during onboarding (for example, a central orders inbox).
- This email lets your team know a customer has placed an order and prompts you to accept or reject it in the dashboard.
If you’re not receiving these emails:
- Check the email address under your Company or Store settings.
- Ask your IT team to whitelist Slerp emails or check spam/junk folders.
Important best practices
To keep customer communication clear and avoid unexpected emails:
- Keep your Orders dashboard up to date
- Regularly review and update order statuses (Pending → Accepted/Rejected → Completed).
- This makes it easier to manage your orders and run accurate reports.
- Be careful with very old Pending orders
- If an order has been left in Pending for a long time (for example, you missed it on the day), do not change the status later.
- Changing it from Pending to Accepted/Rejected at a much later time will still trigger a confirmation email to the customer, which can cause confusion.
- Set clear internal processes
- Decide who checks the Orders tab and how often (e.g. every few minutes during opening hours).
- Make sure staff know that accepting/rejecting an order will send an email to the customer.
💡Related Article: